Skip to content


Properly installing and maintaining your dragon staff hubs is important for keeping your dragon secure and keeping yourself, your audience, and your environment safe while flowing.
Bonobo Flow Dragon Staff Hubs can be used with 3 or 4 spokes per hub and work with both standard dragon staffs and dragon staffs with end wicks. Although the setup is pretty simple once you understand it, there are a few important details that will help keep everything secure and prevent unnecessary wear on the hardware.
In this guide, we’ll cover the parts of your hubs, installation, spoke setup, disassembly, and general maintenance.
- Hub Parts
- Installing Hubs on a Standard Dragon Staff
- Installing Hubs on a Dragon Staff With End Wicks
- Installing Dragon Staff Spokes
- Maintenance & Threadlocker
- Skip to Conclusion
Dragon Staff Hub Parts
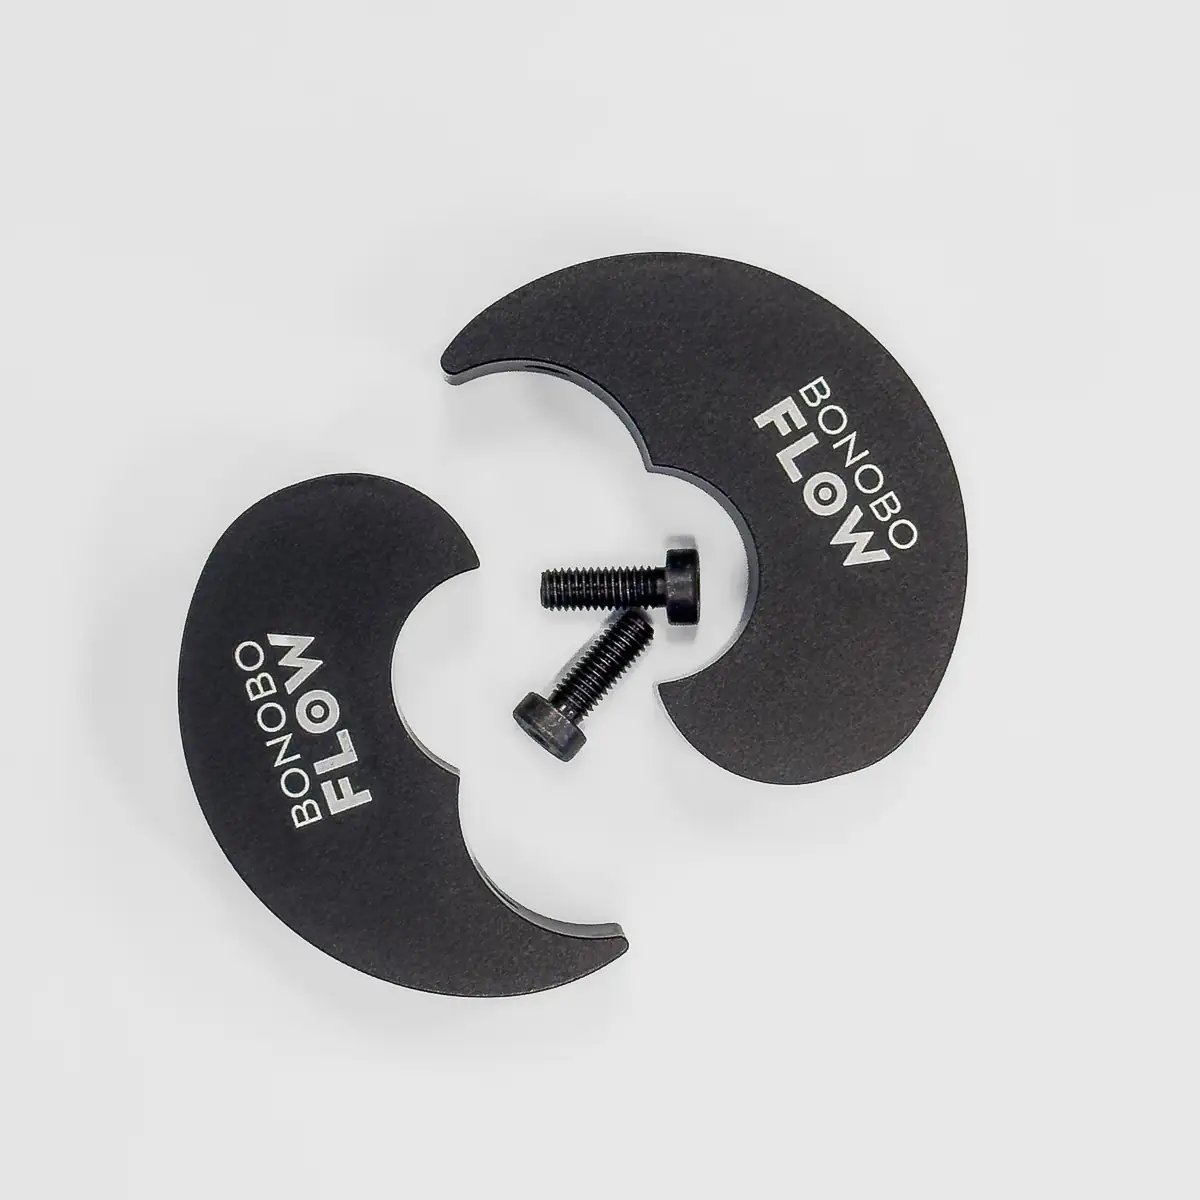
Each Bonobo Flow Dragon Staff Hub is made from two teardrop-shaped halves. If you look closely, you’ll notice that one half is slightly larger than the other.
The two halves are held together using two socket head screws, with one screw inserted from each side of the hub.
On the front face of the hub, you’ll find six spoke holes with grub screws. These six holes allow the same hub to be configured with either 3 or 4 spokes.
The grub screws come with blue threadlocker applied to help prevent them from loosening from vibration during use.
Your hubs also include two Allen keys attached to a small keychain. There’s a reason we give you two.
Remove one Allen key from the keychain and insert it through the hole in the other. This creates a T-shaped handle that gives you considerably more leverage when tightening or loosening the socket screws and grub screws.
Depending on your dragon staff setup, you’ll also receive end caps. These are inserted into the ends of carbon fiber tubing to help prevent the hubs from crushing the tubing when they’re tightened.
Installing Hubs on a Standard Dragon Staff
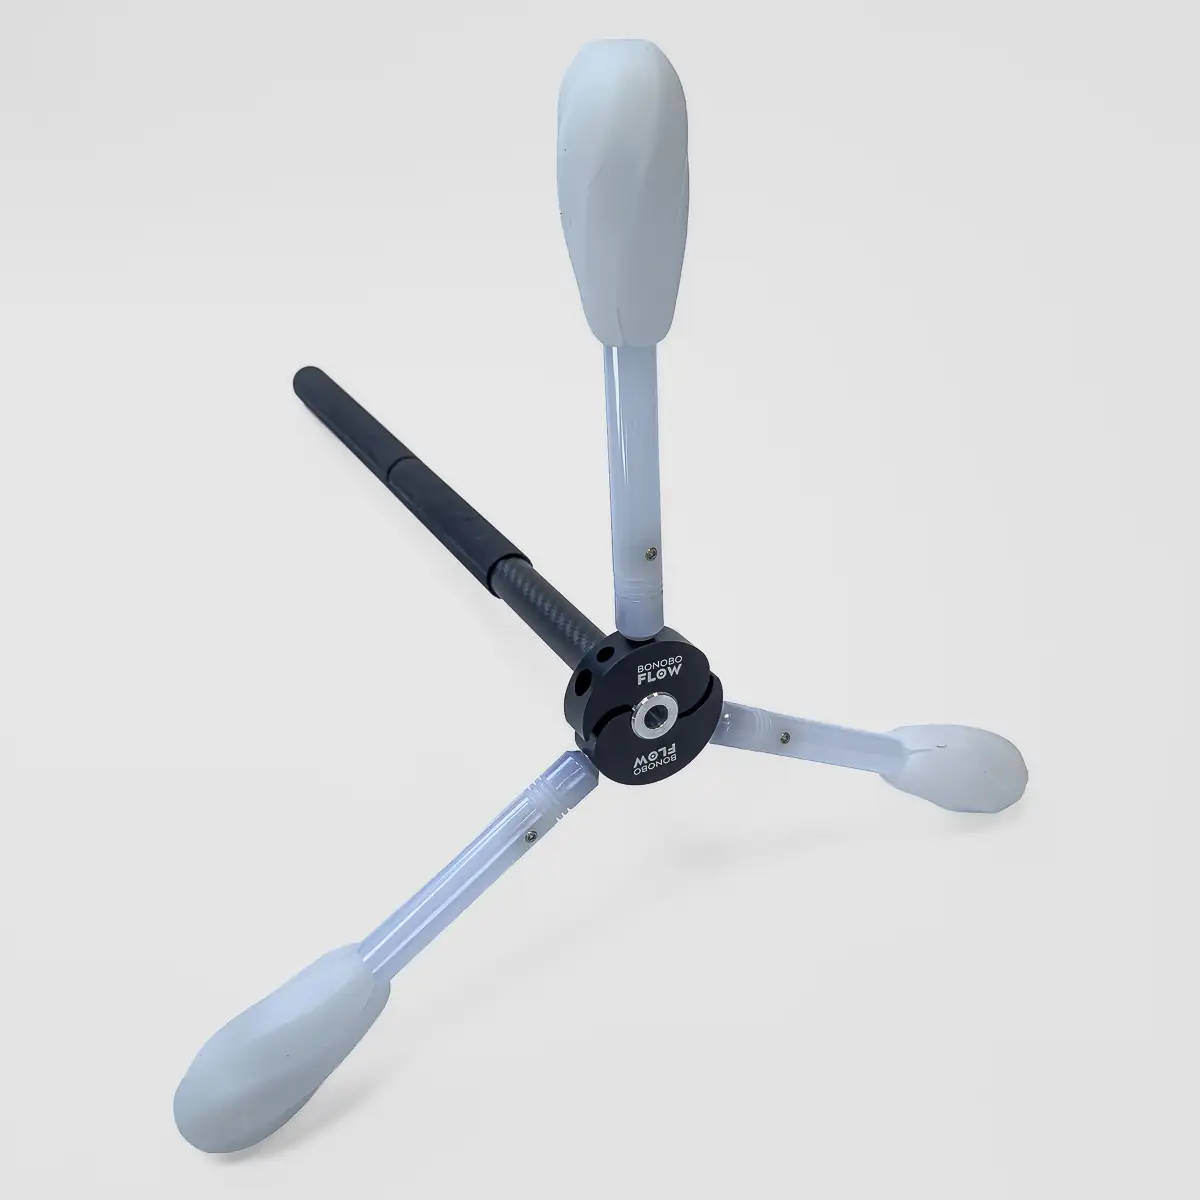
For this section, we’re talking about a standard dragon staff without end wicks, sometimes referred to as a pure dragon.
Your hubs will generally arrive with the two halves already connected. Loosen them enough that you can open the hub slightly and slide it over the end of your staff.
If the halves are completely separated, put them together and insert both socket screws. Tighten each screw just enough that it no longer sticks out from the hub. The screw should sit approximately flush while still leaving enough room to slide the hub onto the tubing.
Once the hub is positioned where you want it, look at the gaps between the two hub halves. One side will generally have a slightly larger gap.
Start by tightening the socket screw on the side with the larger gap using a single Allen key until it becomes difficult to turn.
Then connect your two Allen keys into the T-handle configuration and give the screw approximately another full turn. Give the hub a firm tug afterward to make sure it’s securely attached.
You want the hub tight enough that it cannot move, but do not continue forcing the screw once it’s secure. Overtightening can strip the screw or damage the hardware.
Removing the Hub
To remove it, connect the two Allen keys and determine which socket screw is easier to loosen. This is generally the screw on the side that had the larger gap during installation.
Loosen that screw a couple of turns, then begin loosening the opposite side. Continue alternating as needed until the hub can be removed.
You generally don’t need to completely remove the socket screws unless you’re separating the two halves.
Installing Hubs on a Dragon Staff With End Wicks
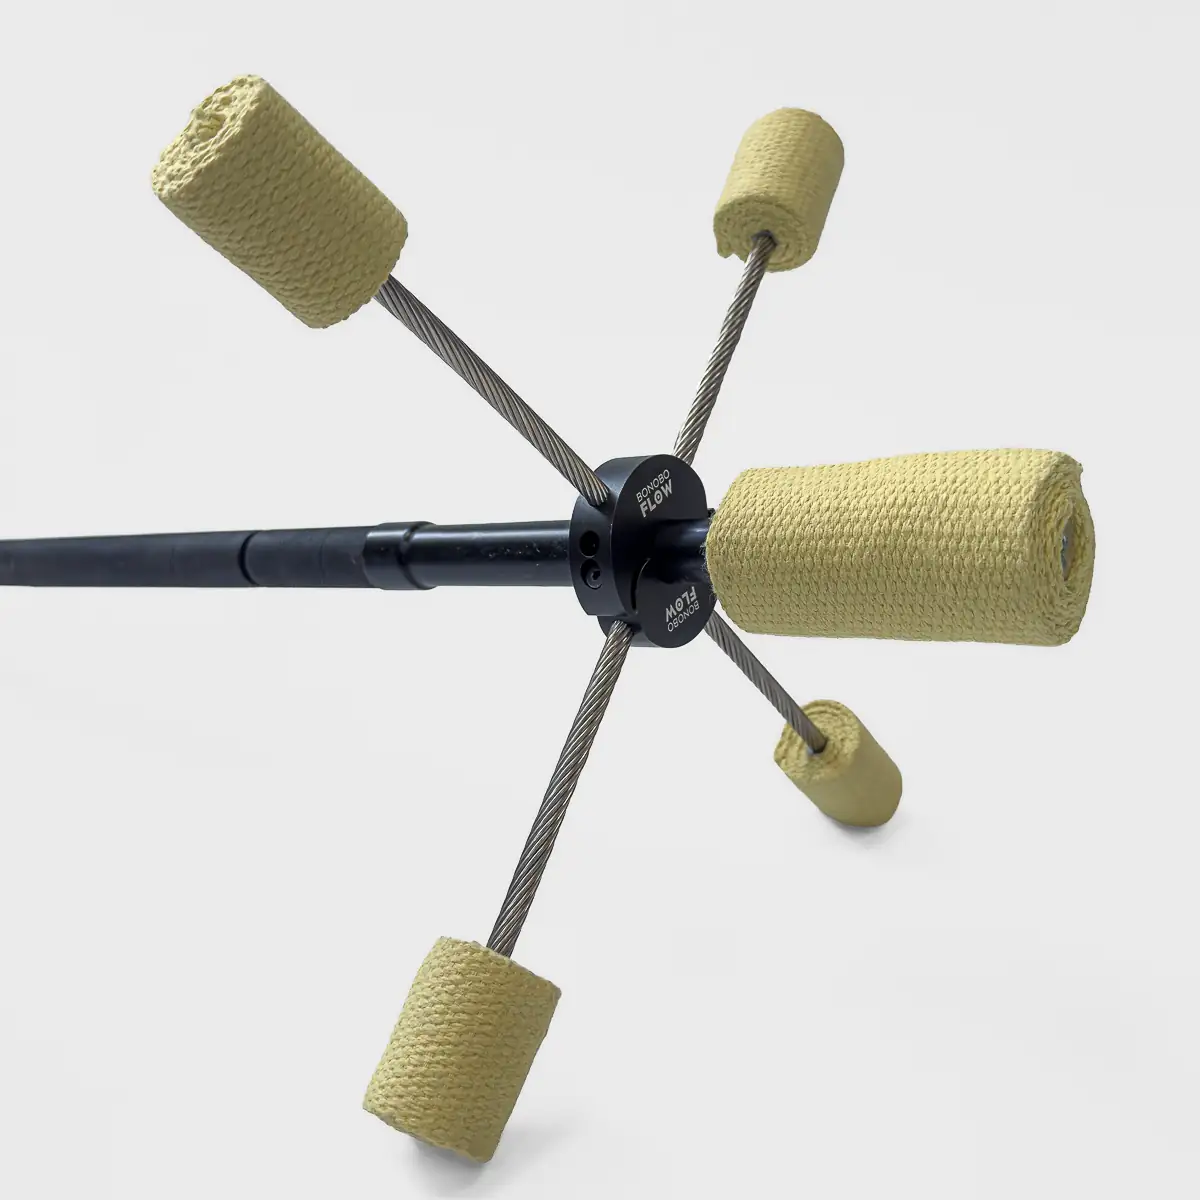
Dragon staffs with end wicks require a slightly different installation because you can’t simply slide the assembled hub over the end of the staff.
Start by completely separating the two hub halves.
Place them around the staff tubing behind the end wick, then insert one socket screw at a time. Tighten each screw only a few turns at first, making sure both screws properly line up with the threads on the opposite half.
Once both screws have caught their threads, alternate between them, tightening each side a few turns at a time.
Continue until both sides are relatively tight. Then find the side with the larger gap and use the double Allen key setup to finish tightening it.
Give the hub a firm tug to confirm that it’s secure.
To remove the hub, reverse the process. Loosen the easier socket screw first, then alternate between both screws until the two halves can be separated.
Should You Remove Your Hubs Every Time?
We generally recommend leaving your hubs installed on your dragon staff.
There’s usually no reason to completely remove them every time you break down your dragon. Constantly assembling and disassembling threaded hardware creates additional wear over time, and removing the hubs also gives you another set of parts to potentially lose.
For normal breakdown and storage, simply remove the spokes and leave the hubs attached to the staff.
Which Direction Should the Grub Screws Face?
For a standard dragon staff without end wicks, we prefer positioning the hubs with the grub screws facing outward toward the ends of the staff. This keeps the main shaft from getting in the way when you’re tightening your spokes.
For dragon staffs with end wicks, we prefer having the grub screws face inward, away from the end wick. This gives you more room to work without the wick getting in the way.
Neither orientation changes how the hub functions. It simply makes installing and removing your spokes easier.
Installing Dragon Staff Spokes
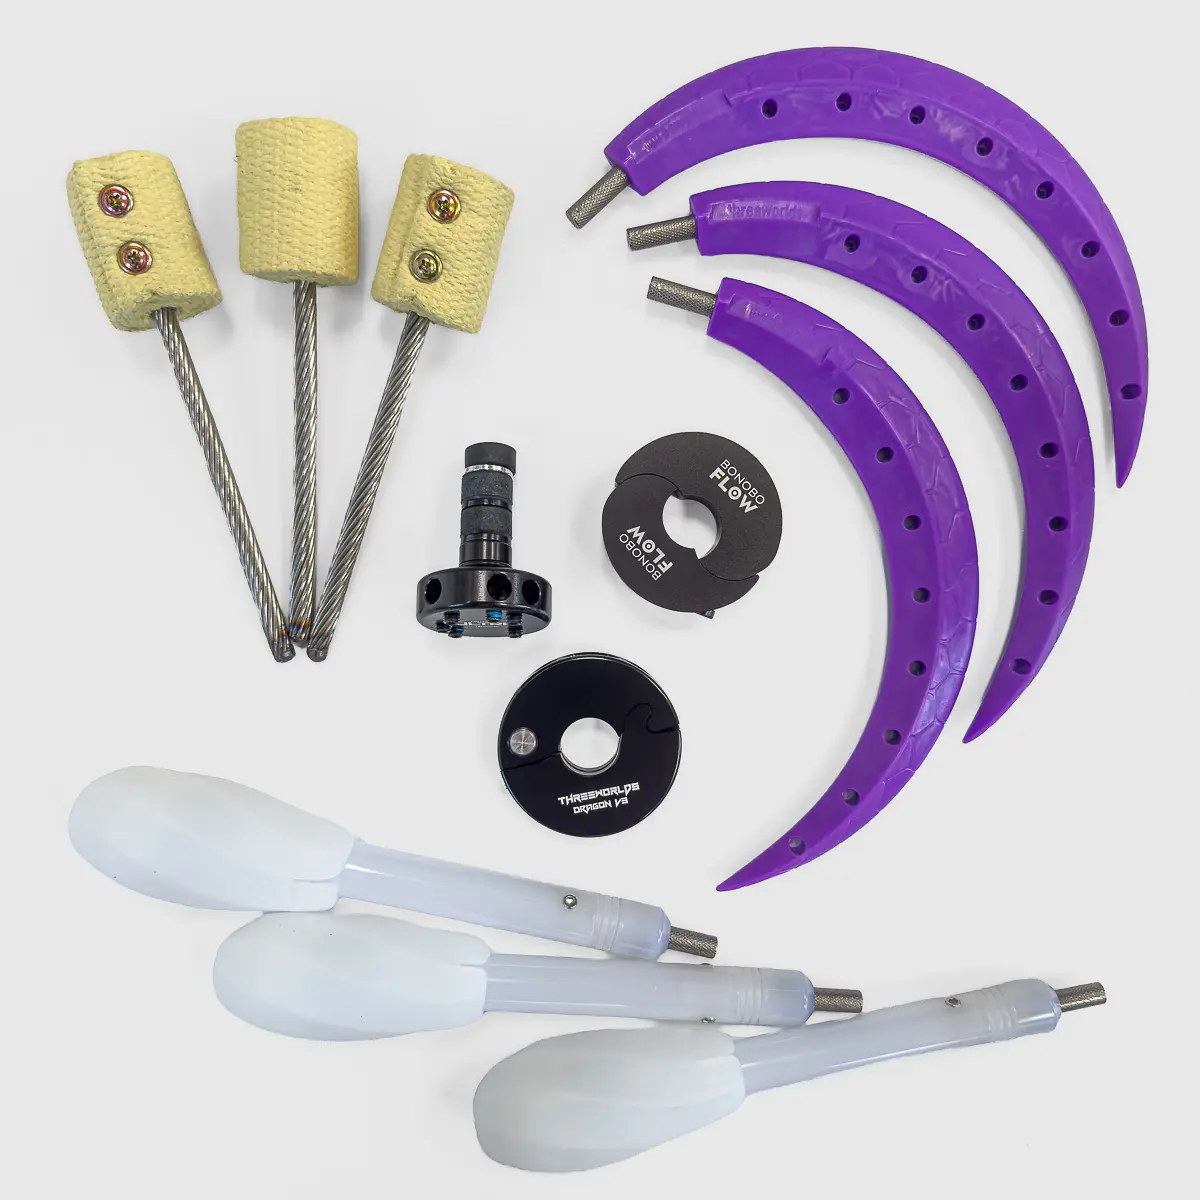
Before installing your spokes, decide whether you’re setting up a 3 or 4 spoke dragon staff.
Looking at the front of the hub, the six spoke positions form two different patterns:
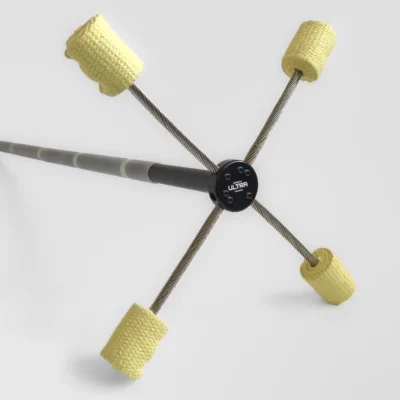
- The four-spoke configuration forms an X.
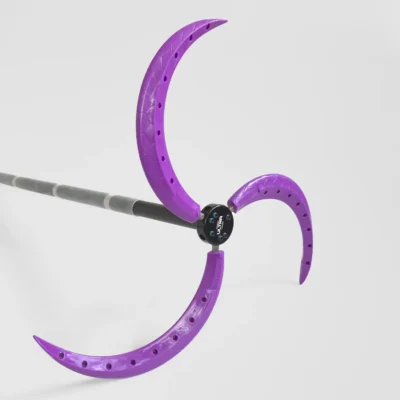
- The three-spoke configuration forms a triangle.
Insert your first spoke into the appropriate hole and tighten its grub screw using a single Allen key until the spoke feels secure.
Repeat this for the remaining spokes.
Once they’re all secure with the single Allen key, connect the two keys into the T-handle configuration and give each grub screw approximately another half turn.
Then give every spoke a firm tug.
This is especially important with fire dragon staffs. You absolutely do not want a burning spoke deciding it’s time to become an independent flow artist.
The screws should be tight and the spokes shouldn’t move, but don’t force a grub screw that has already stopped turning. Overtightening can strip the hardware.
Removing the Spokes
Use the double Allen key setup to break each grub screw loose with approximately a half turn.
Once they’re loosened, you can finish loosening them normally and pull the spokes from the hub.
When storing your dragon staff, leave the grub screws inside the hub and tighten them until they’re approximately flush. Even with threadlocker applied, a loose grub screw can eventually work its way out while bouncing around in your prop bag.
Tiny black screws are remarkably good at disappearing forever.
Dragon Staff Hub Maintenance
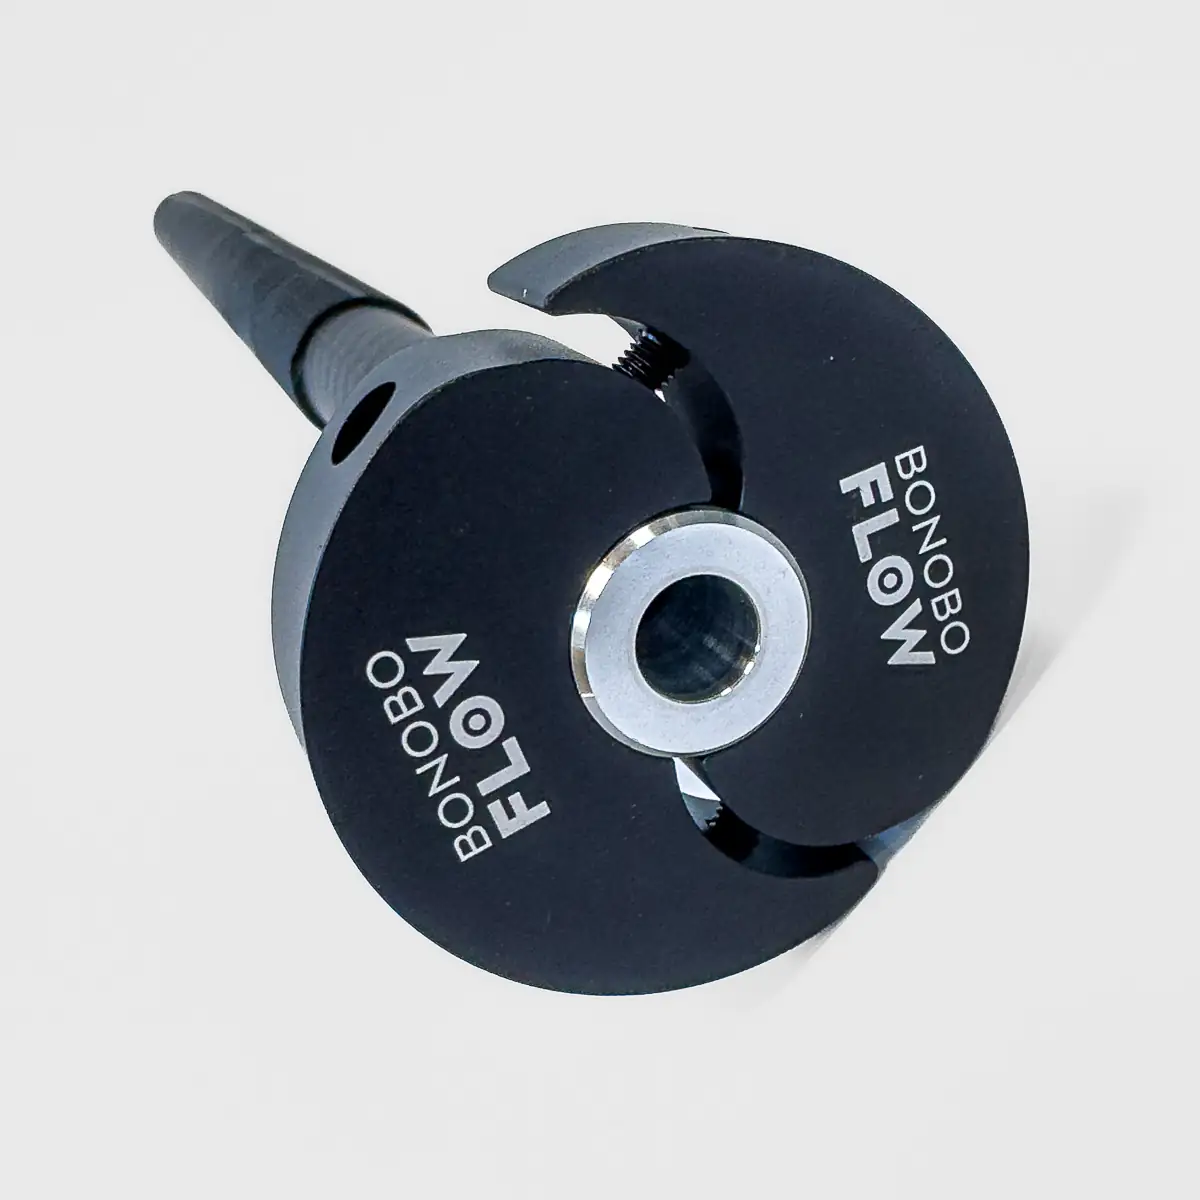
There isn’t much regular maintenance required once your hubs are properly installed.
The biggest things to remember are:
- Leave the socket screws and grub screws installed so they don’t get lost.
- Leave the hubs attached to your dragon whenever possible.
- Periodically check that the hubs are still securely tightened.
- Check every spoke with a firm tug after installation.
- Never force a screw once it feels securely tightened.
For fire dragon staffs, we recommend checking your hubs and spokes before burning. Even if you haven’t touched the hubs in months, it only takes a few seconds to make sure everything is still secure.
When to Reapply Threadlocker
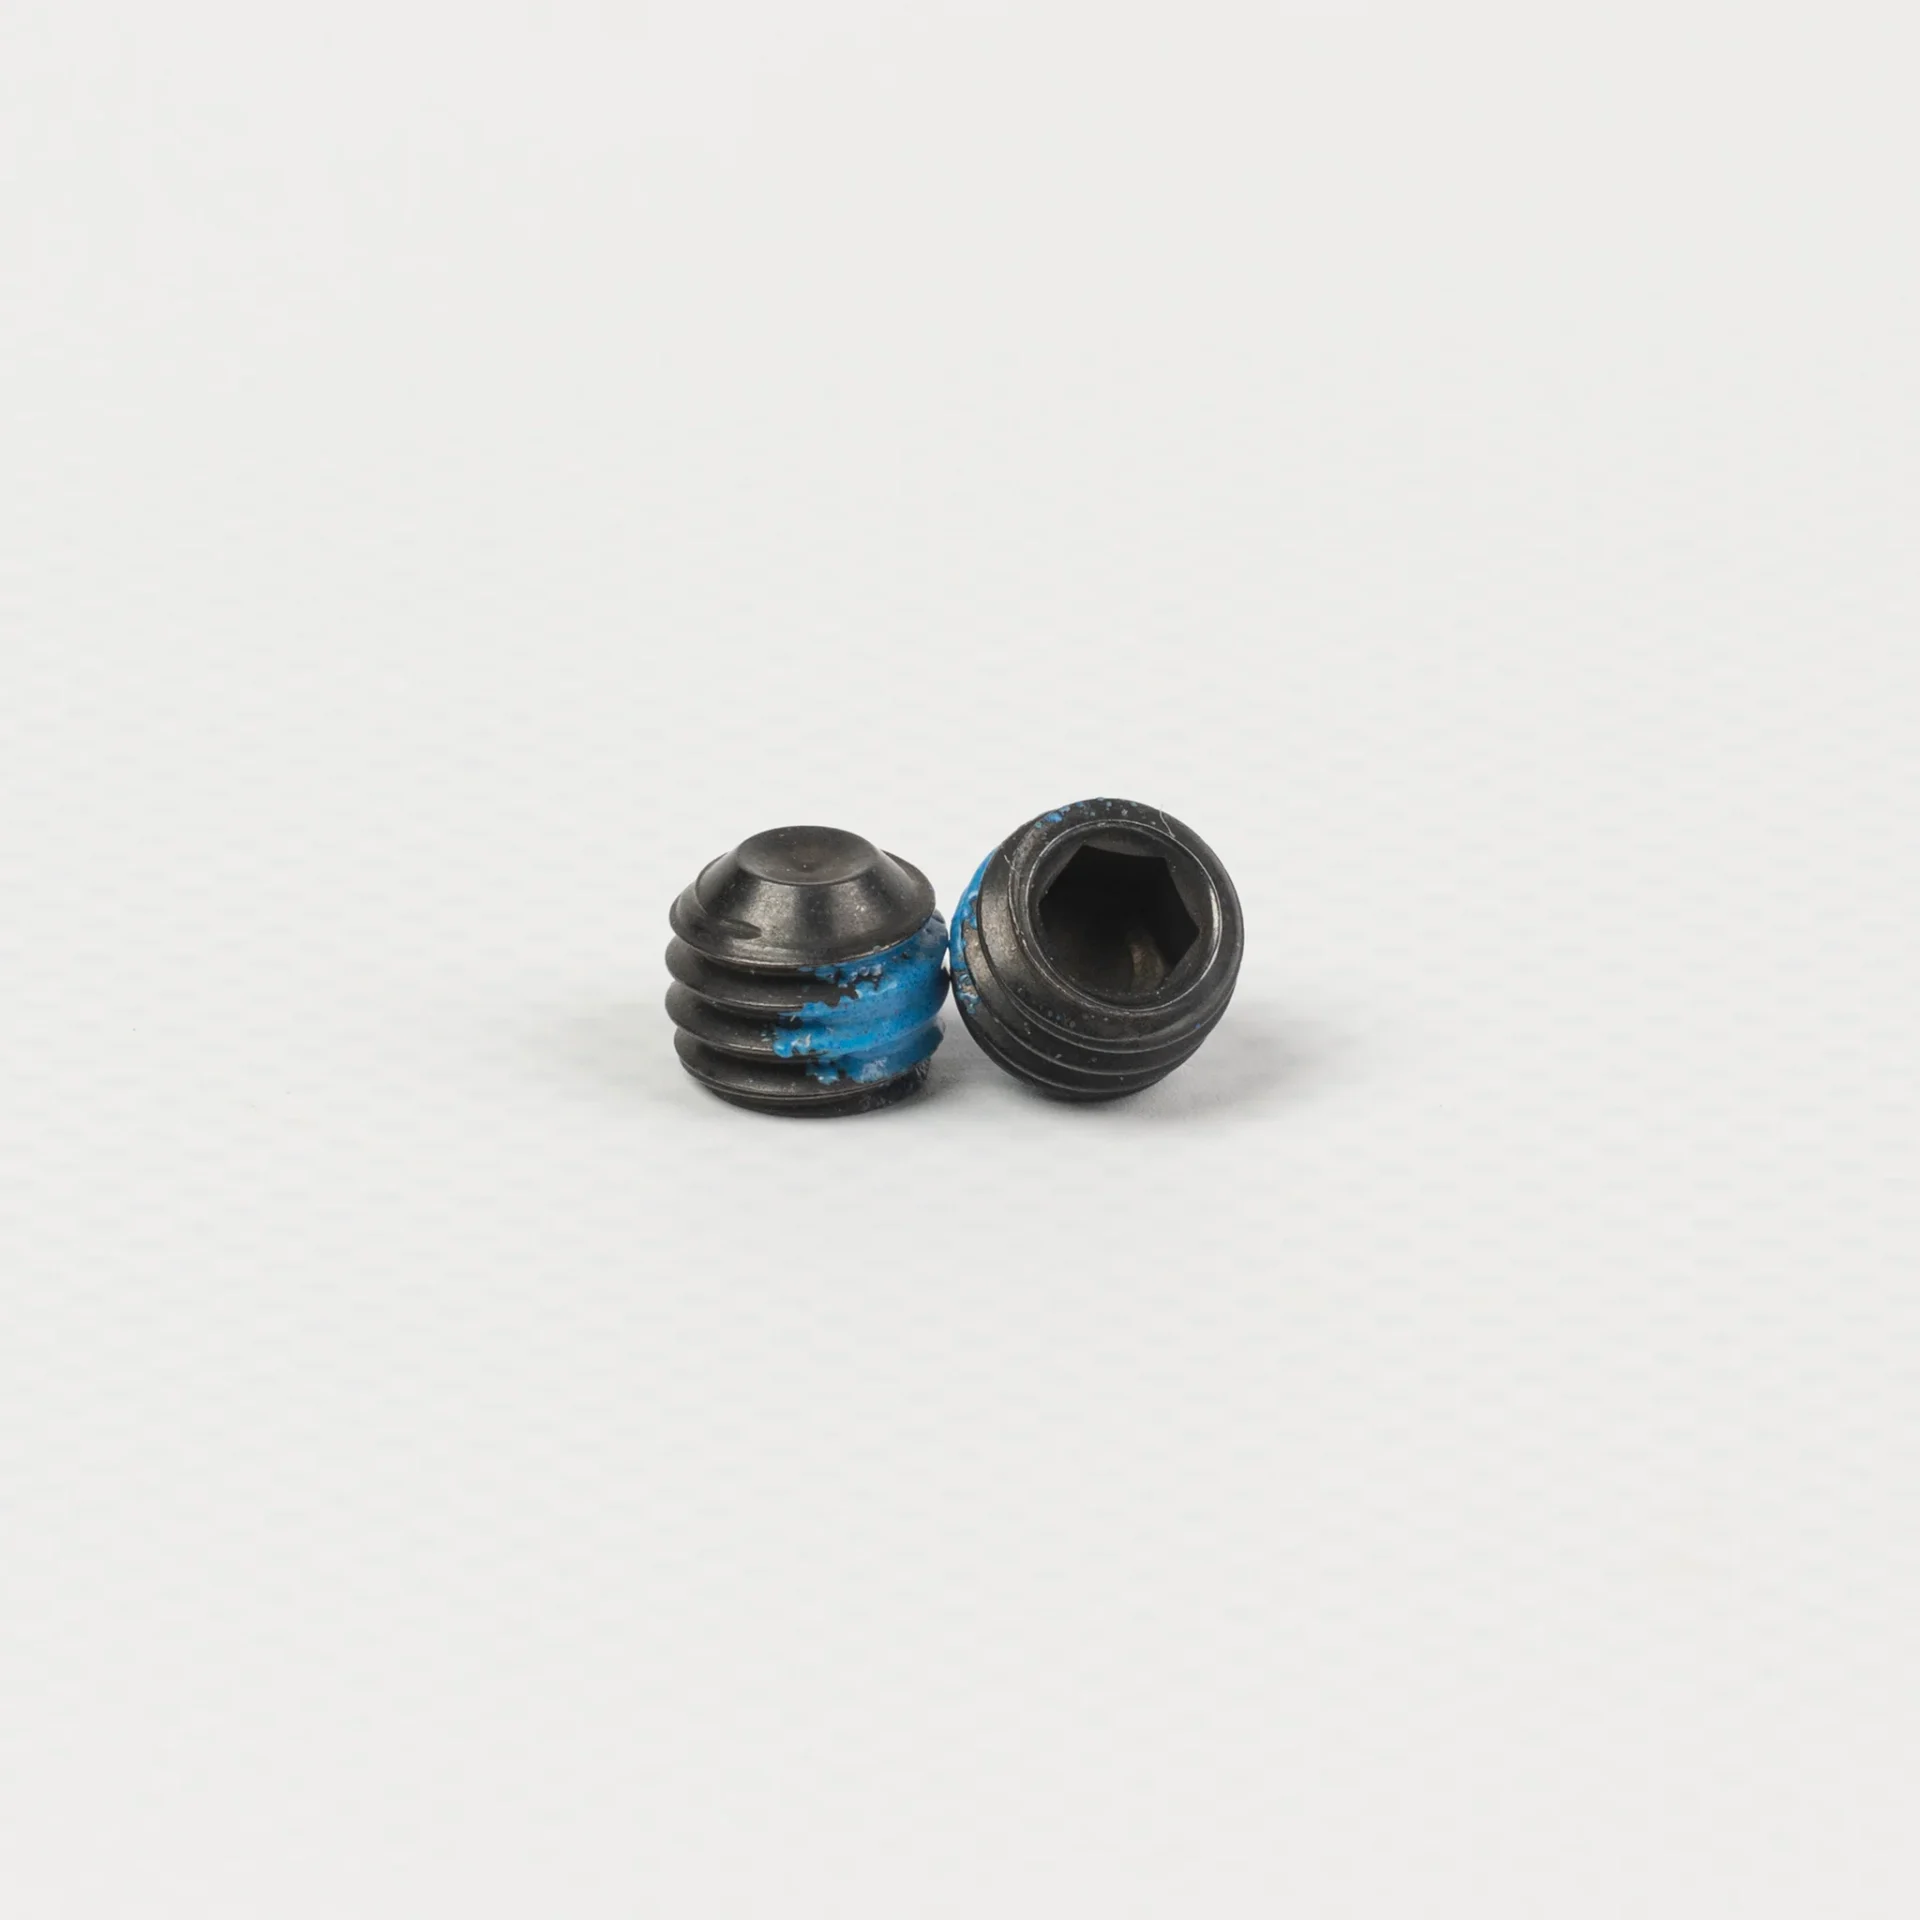
After a year or two of regular use, or sooner if you frequently assemble and disassemble your hubs, you may notice that the screws feel looser inside the threads than they used to.
Some wear on frequently used threaded hardware is normal.
If this happens, you can apply a small amount of blue medium-strength threadlocker to the threads of the socket screws or grub screws.
We recommend blue threadlocker because it’s removable. Avoid permanent high-strength threadlockers that can make future disassembly unnecessarily difficult.
After applying it, assemble the hubs and hardware normally. If you’re applying it to the grub screws, installing the spokes will help position everything where it normally sits during use.
Allow the threadlocker to cure for at least 24 hours before disassembling the hardware again.
Conclusion
Bonobo Flow Dragon Staff Hubs are pretty straightforward once you’ve installed them a couple of times. The most important thing is making sure everything is securely tightened without overtightening and damaging the hardware.
Here’s the quick recap:
Hub Installation
- Make sure both hub halves are properly aligned.
- Tighten both socket screws evenly.
- Finish tightening the side with the larger gap.
- Give the installed hub a firm tug.
- Don’t overtighten.
Spoke Installation
- Use the triangle pattern for 3 spokes.
- Use the X pattern for 4 spokes.
- Tighten each spoke securely.
- Give every spoke a firm tug before flowing.
- Leave grub screws in the hub during storage.
Maintenance
- Leave hubs installed whenever possible.
- Periodically check that all hardware is tight.
- Check everything before burning.
- Reapply blue threadlocker if older hardware begins feeling loose.
- Allow fresh threadlocker to cure for at least 24 hours.
Taking a few extra seconds to properly install and inspect your dragon staff can prevent a lot of problems later, especially when fire is involved. If you’re ever unsure whether something is installed correctly, reach out to us before burning it.